

How to Build a Backyard Pond
Here are the essential DIY fundamentals for constructing a durable, crystal-clear garden pond once you have gathered your tools, selected your materials, and surveyed your yard's natural topography.
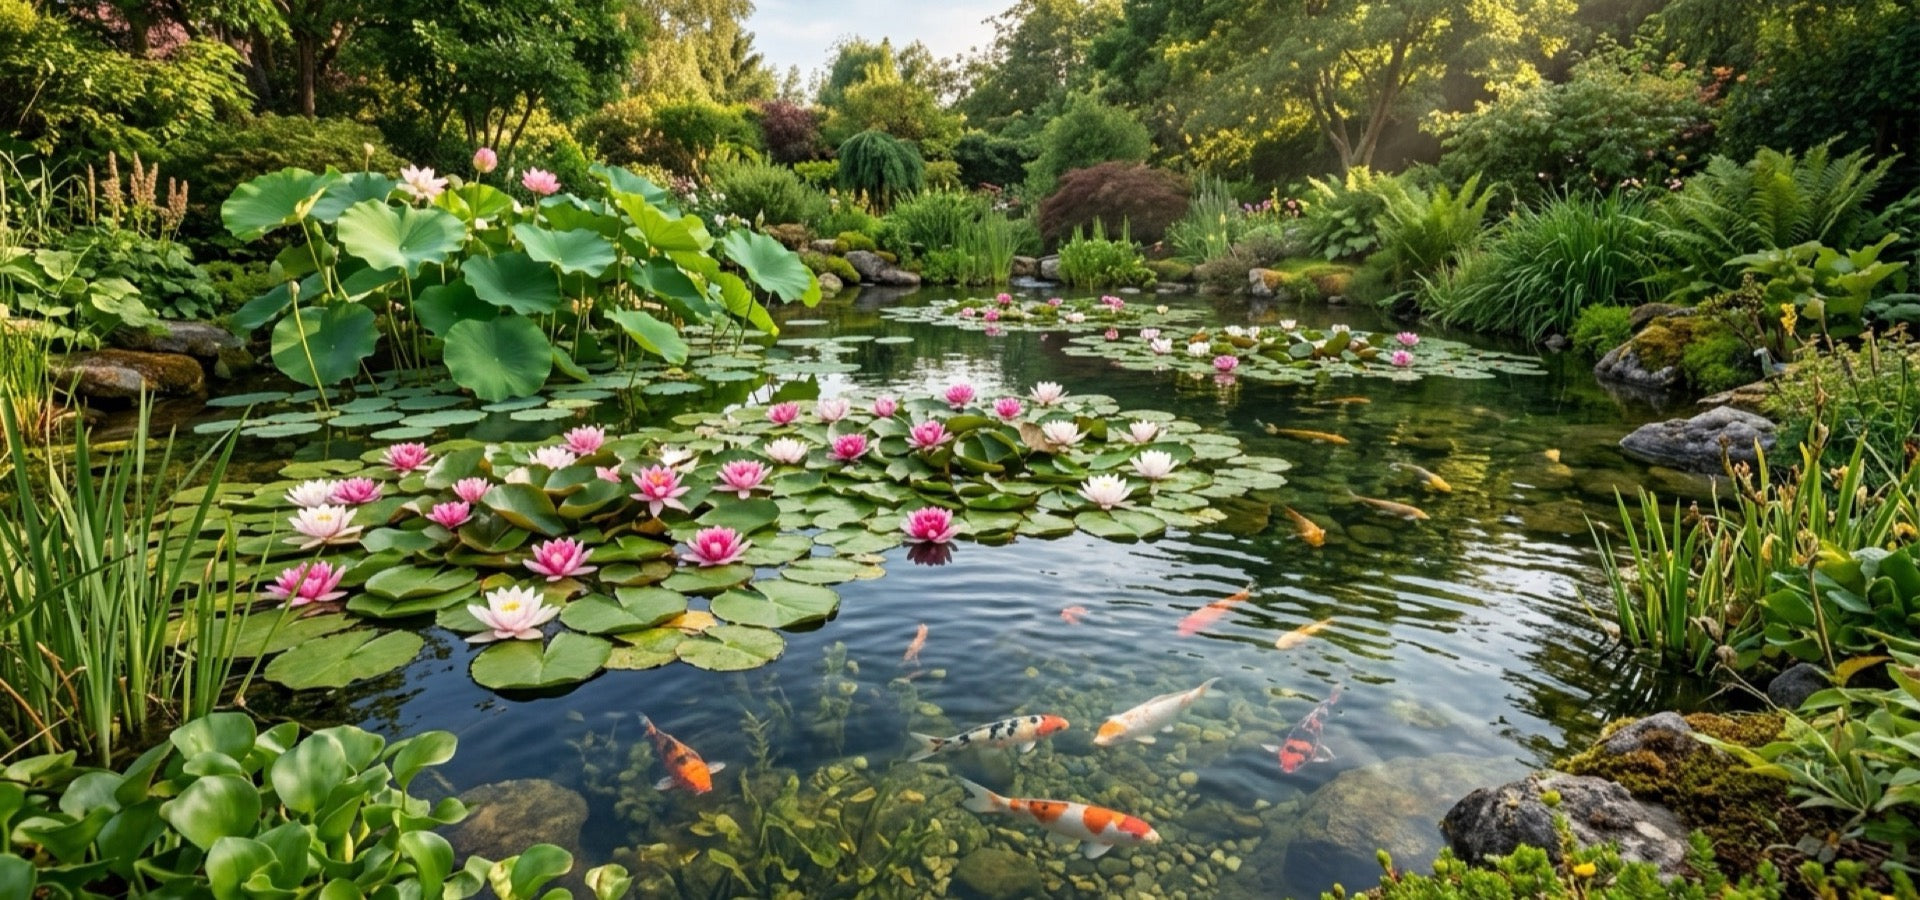
Pond Construction Checklist
7 Key PhasesMarking & Perimeter Excavation
The best way to start excavating your pond is using a regular flat shovel (spade shovel) found at any hardware store. Before digging into the ground, outline your desired perimeter using rope, garden hose, or marking spray paint to visualize the exact shape and proportions in relation to your yard.
Critical preparation: Clear away grass, turf, and topsoil 6 to 12 inches beyond your water garden perimeter. This provides a clean, flat perimeter ledge to anchor the liner securely and arrange decorative edging stones.
Digging Out Layered Shelves & Depth Zones
Begin by carving out the outer rim to a depth of 9 to 12 inches. Always excavate dirt in progressive layers, working steadily from the center out toward the perimeter.
Plan your depths strategically:
• Plant Shelves: Create shallow peripheral terraces 8 to 12 inches deep. This is the optimal depth for potted marginal pond plants (such as irises and bog plants) and water lilies to thrive.
• Winter Safe Zone for Fish: If you live in an area subject to freezing winter temperatures, carve a deep basin of at least 3 feet deep by 3 feet wide to ensure water stays liquid beneath the ice surface.
• Overflow Protection: Keep the exterior perimeter rim raised at least 1 inch above the surrounding ground level to prevent heavy rainwater runoff from washing soil back into your pond.
Substrate Smoothing & Underlayment Cushion
Once excavation is complete, thoroughly inspect the entire basin for sharp stones, protruding tree roots, and glass that could puncture your pond liner under the heavy weight of water. The floor and contours must be completely smooth.
Wherever large stones were removed, backfill the depressions with fine mason sand to level the surface. Pour a 2-inch uniform layer of sand or geotextile underlayment material across the pond base before laying the waterproof rubber liner.
Liner Installation & Water Weight Settlement
Choose a dry, sunny day for liner installation—rubber pond liners become pliable and much easier to manipulate when warmed by the sun. Stretch the liner out over the excavated basin carefully; do not drag it across rough ground to prevent accidental snags.
Drape the liner evenly across the contours, weighting the outer perimeter temporarily with smooth bricks or flat stones. Begin filling the pond with water slowly. As the water fills, its tremendous weight will mold the liner snugly into every shelf and crevice. Adjust folds smoothly as the water level rises, then trim off excess liner, making sure to leave ample flap width to tuck underneath your edging stones.
Perimeter Anchoring & Natural Rock Edging
Secure the liner firmly into the surrounding ground using 20d galvanized nails driven through the outer liner skirt approximately every 12 inches (1 foot) around the pond perimeter.
With the liner locked down, conceal the outer rim by arranging natural flagstones, rounded fieldstones, and driftwood. Ensure stones overhang the water edge by 1 to 2 inches to shade the liner from UV sunlight and give your new water garden an authentic, organic appearance.
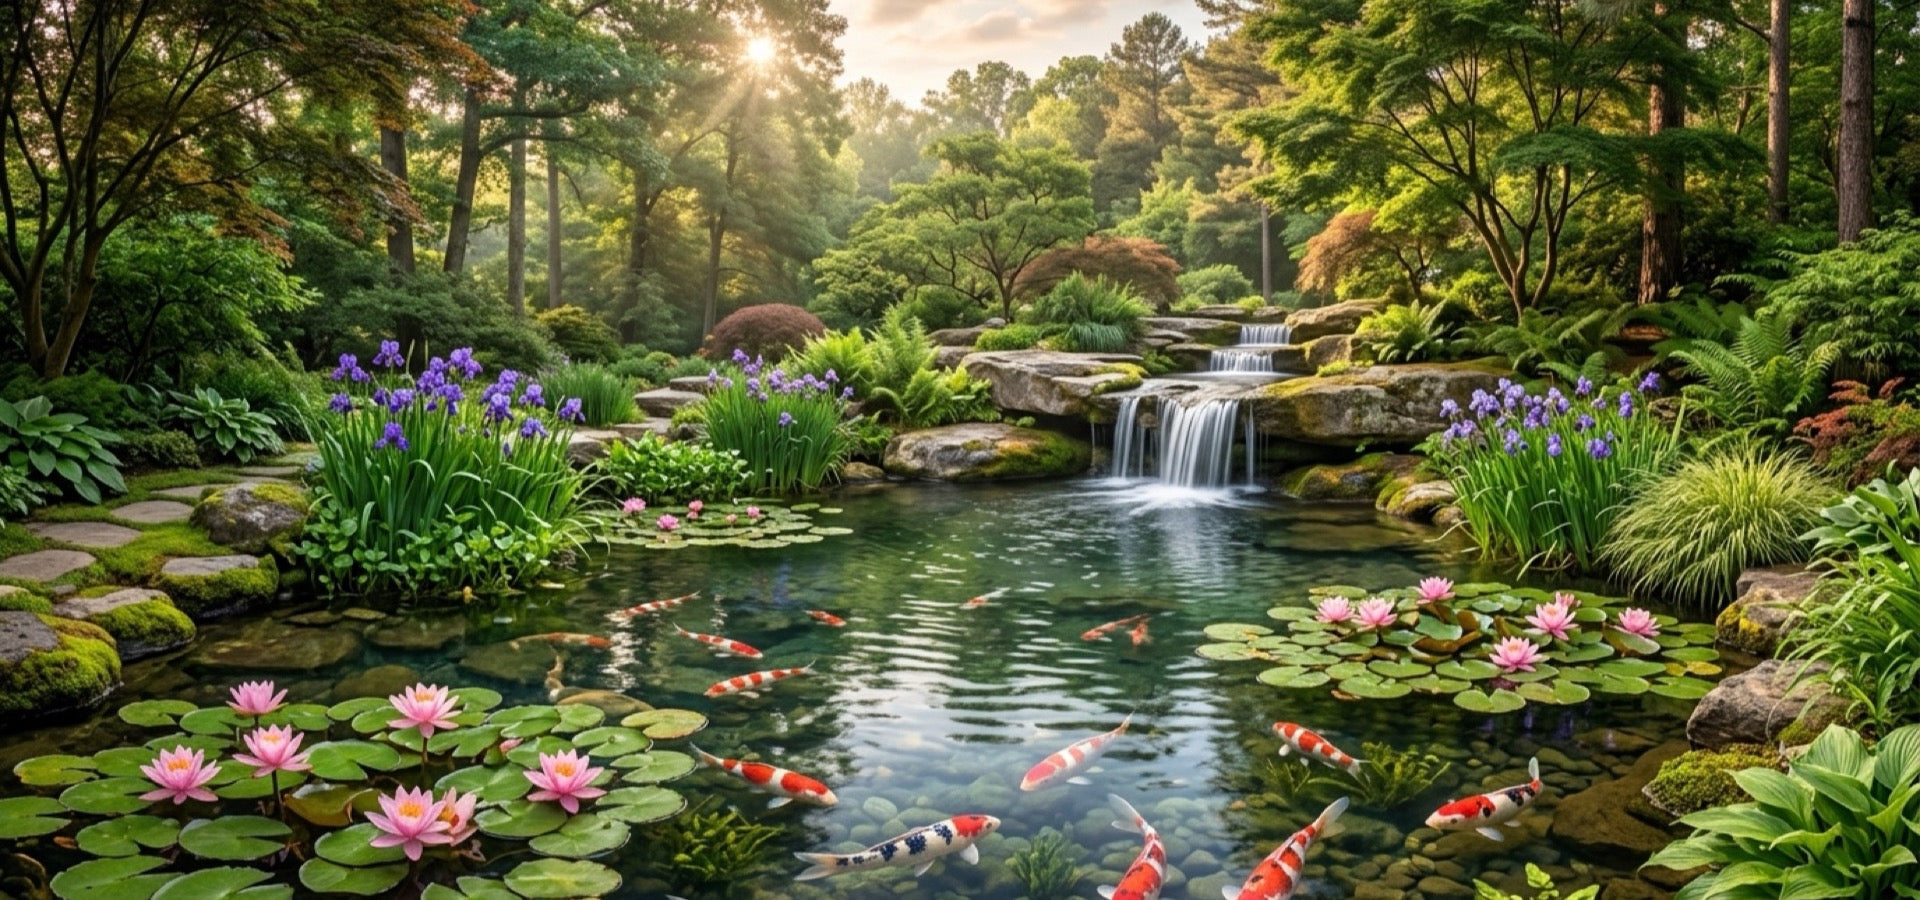
Essential Plant Tiers for Your New Pond
Every balanced water garden relies on three plant zones to keep water clear, control algae, and provide habitat.
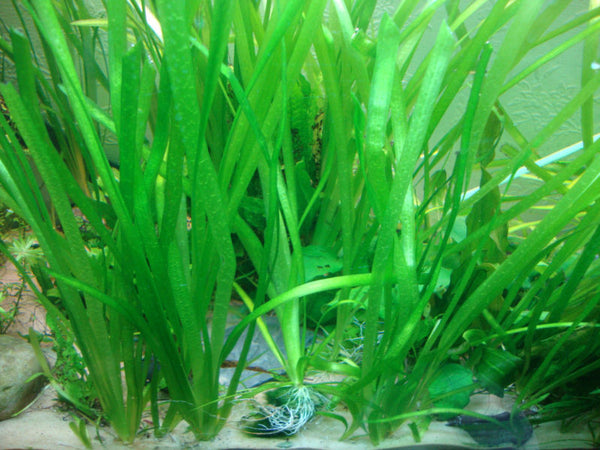
Jungle Vallisneria
Anchors directly into bottom substrate or pots. Releases heavy dissolved oxygen and strips excess nitrates to keep pond water crystal clear.
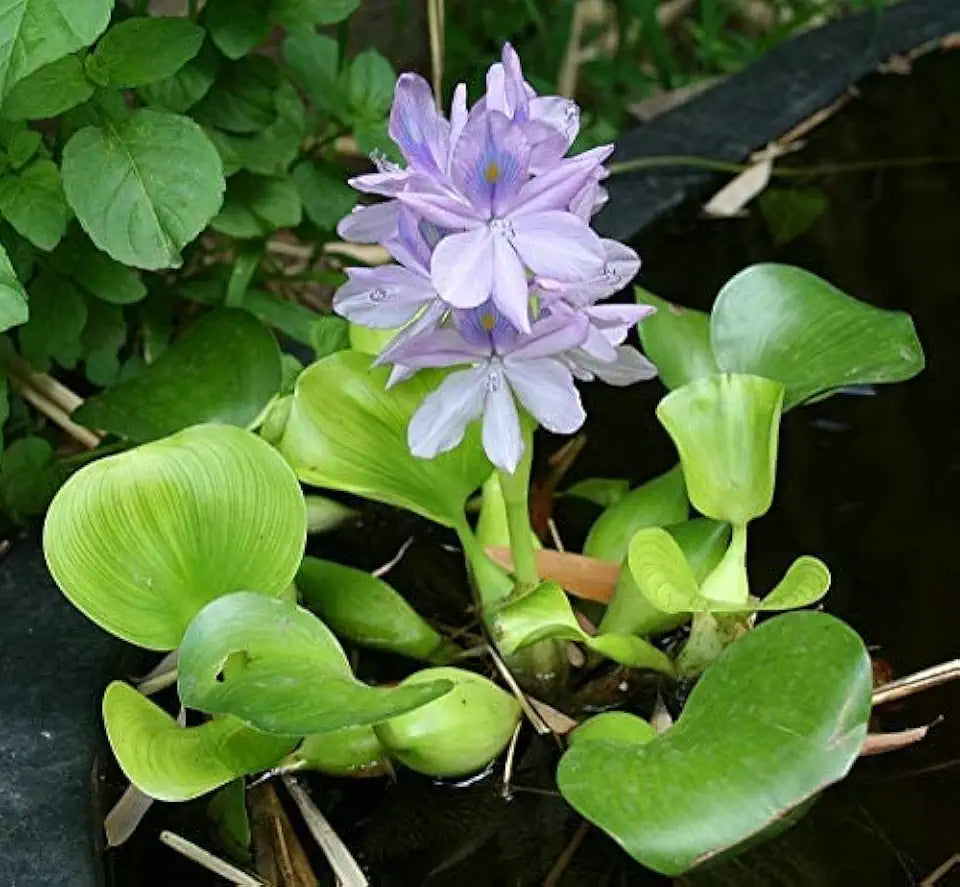
Water Hyacinths & Lettuce
Free-floating surface plants with dense feathered root systems that outcompete green algae by absorbing dissolved nutrients.
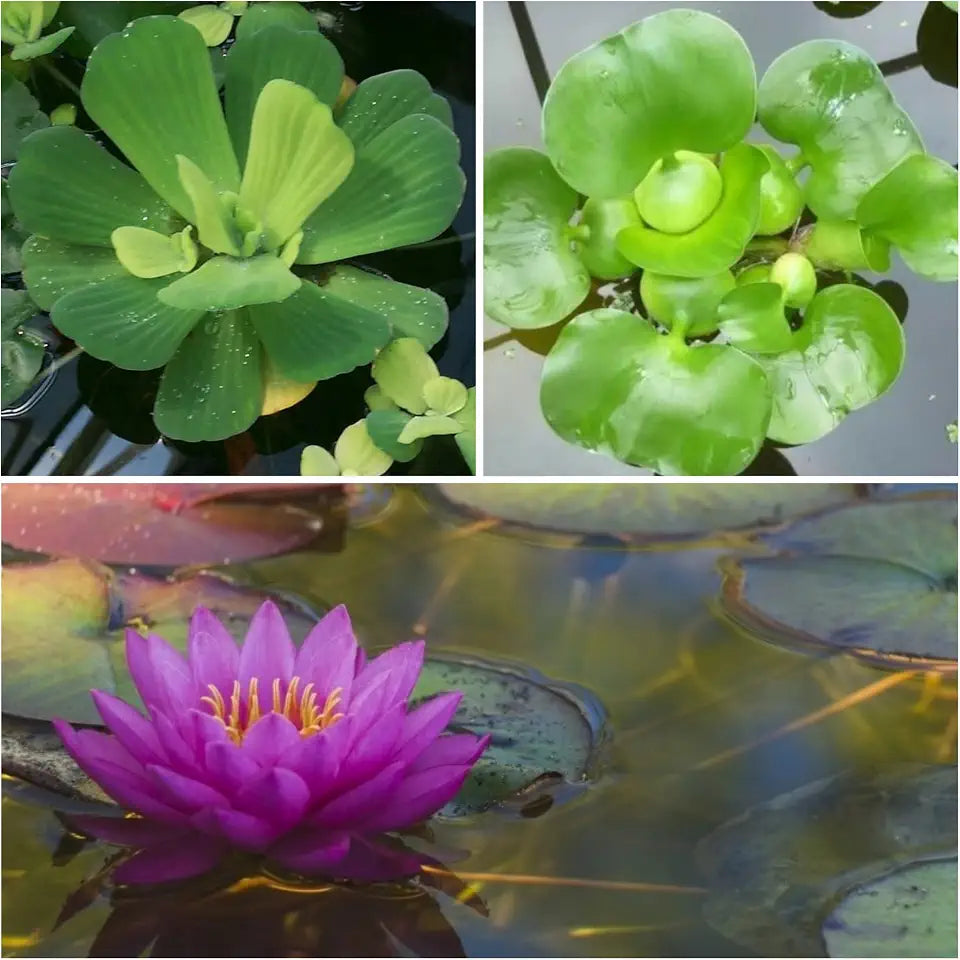
Hardy Water Lilies
Placed on intermediate excavation shelves. Their floating pads shade up to 60% of the water surface, keeping water temperatures cool.
Pond Keeper's Ecology Tip: After completing the build and filling your pond, condition the water to remove chlorine and heavy metals before adding live inhabitants. Populate your shelves and floor with oxygenating pond plants to naturally filter nutrients, suppress algae, and balance your ecosystem.
Watch: Step-by-Step Pond Construction Video
Watch this detailed visual walkthrough demonstrating each excavation phase, liner fitting, and stone edging technique from start to finish.